العربية
 Español
 Pусский
 lingua italiana
 Français
 Deutsch
 Portugues




A railway level crossing is not an ordinary road-lighting zone. The lighting must help drivers and pedestrians detect trains, track edges, barriers, signs, and other users without masking railway signals or creating glare for train crews. That makes the buying question larger than wattage or lumens: the project team must coordinate photometry, pole placement, CCTV, controls, maintenance, and railway authority approval.
Why railway crossings need their own lighting strategy
At a conventional road, the main visual task is usually the carriageway and the movement of road users. At a level crossing, the scene also contains rails, a train moving across the driver's line of travel, warning lights, barriers, signs, pedestrians, cyclists, and sometimes CCTV. The lighting therefore has to reveal vertical objects, not only produce horizontal lux on the pavement.
Transport for NSW states that a new crossing-lighting scheme should maintain at least 32 lux of vertical illuminance at the crossing, measured to a height of at least 1.5 m above road level. This is a jurisdiction-specific benchmark, not a universal design value, but it demonstrates why a road-only calculation can miss the critical task: making the side of a train and crossing users visible.
Each tile is a separate requirement with its own unit; the values are not intended for cross-unit comparison. Confirm the governing railway and road-lighting rules for the actual project.
Five specification priorities that reduce project risk
1. Model vertical visibility, not just pavement brightness
Request vertical calculation planes facing each road approach and, where relevant, pedestrian decision points and CCTV views. The model should show maintained values after the agreed maintenance factor is applied. A crossing can appear bright while a train side, person, or barrier remains poorly defined because the light arrives from the wrong direction.
2. Protect signal recognition
Alternating red lights at a level crossing carry a stop instruction in the UK Highway Code. General lighting must not compete with, wash out, or visually confuse those signals. Transport for NSW specifically warns that crossing illumination should not obscure train signals and calls for flat-glass luminaires, with shields where necessary, to control glare. The designer should review luminaire aiming from both road-driver and train-driver viewpoints, including wet pavement and background-light conditions.
3. Coordinate glare, spill light, and optics
High output does not compensate for poor distribution. The UK Health and Safety Executive recommends high-mounted, downward-aimed lighting to avoid glare and shadows, and identifies asymmetric, flat-glass floodlights as a useful approach for road surfaces. For a procurement package, require the exact optic code, tilt angle, mounting height, and aiming schedule used in the calculation. Any substitution should trigger a revised photometric check.
4. Place poles around railway and road safety constraints
Pole positions must be agreed with the railway authority, checked against track clearances, vehicle clear zones, barriers, overhead electrical infrastructure, drainage, and maintenance access. The Transport for NSW guideline cites a clear-zone distance of at least 5 m from the nearest track and calls for impact-absorbing poles at the crossing. These are useful tender prompts, but the local infrastructure manager remains the approving authority.
5. Design for inspection and recovery
A failed luminaire at a crossing can create a localized visibility gap. Ask how the driver is accessed, whether surge protection is coordinated with the electrical design, how the luminaire is isolated, which spare parts are stocked, and how the lighting will operate during a supply interruption. Controls may reduce output when the crossing is inactive only if the approved design preserves every required safety state and provides a defined fail-safe response.
| Design item | Evidence to request | Why it matters | Approval question |
|---|---|---|---|
| Vertical illuminance | Calculation planes, maintained values, grid and orientation | Shows trains, barriers, faces, and crossing users | Which local requirement and measurement height apply? |
| Glare | TI or applicable glare metric, intensity table, aiming schedule | Protects road and train-driver vision | Has the design been checked from every critical viewing direction? |
| Signal visibility | Night review, rendered views, signal and luminaire coordinates | Prevents general lighting from masking warning signals | Has the railway signal engineer reviewed the scheme? |
| CCTV coordination | Camera locations, fields of view, exposure test plan | Reduces flare, silhouettes, and unusable images | Will a night commissioning test include moving vehicles and barriers? |
| Product identity | Model, wattage, optic, CCT, driver, SPD and control option | Keeps the supplied luminaire aligned with the calculation | Does the submittal exactly match the photometric file? |
A practical design and approval workflow
How Alite products can enter the project evaluation
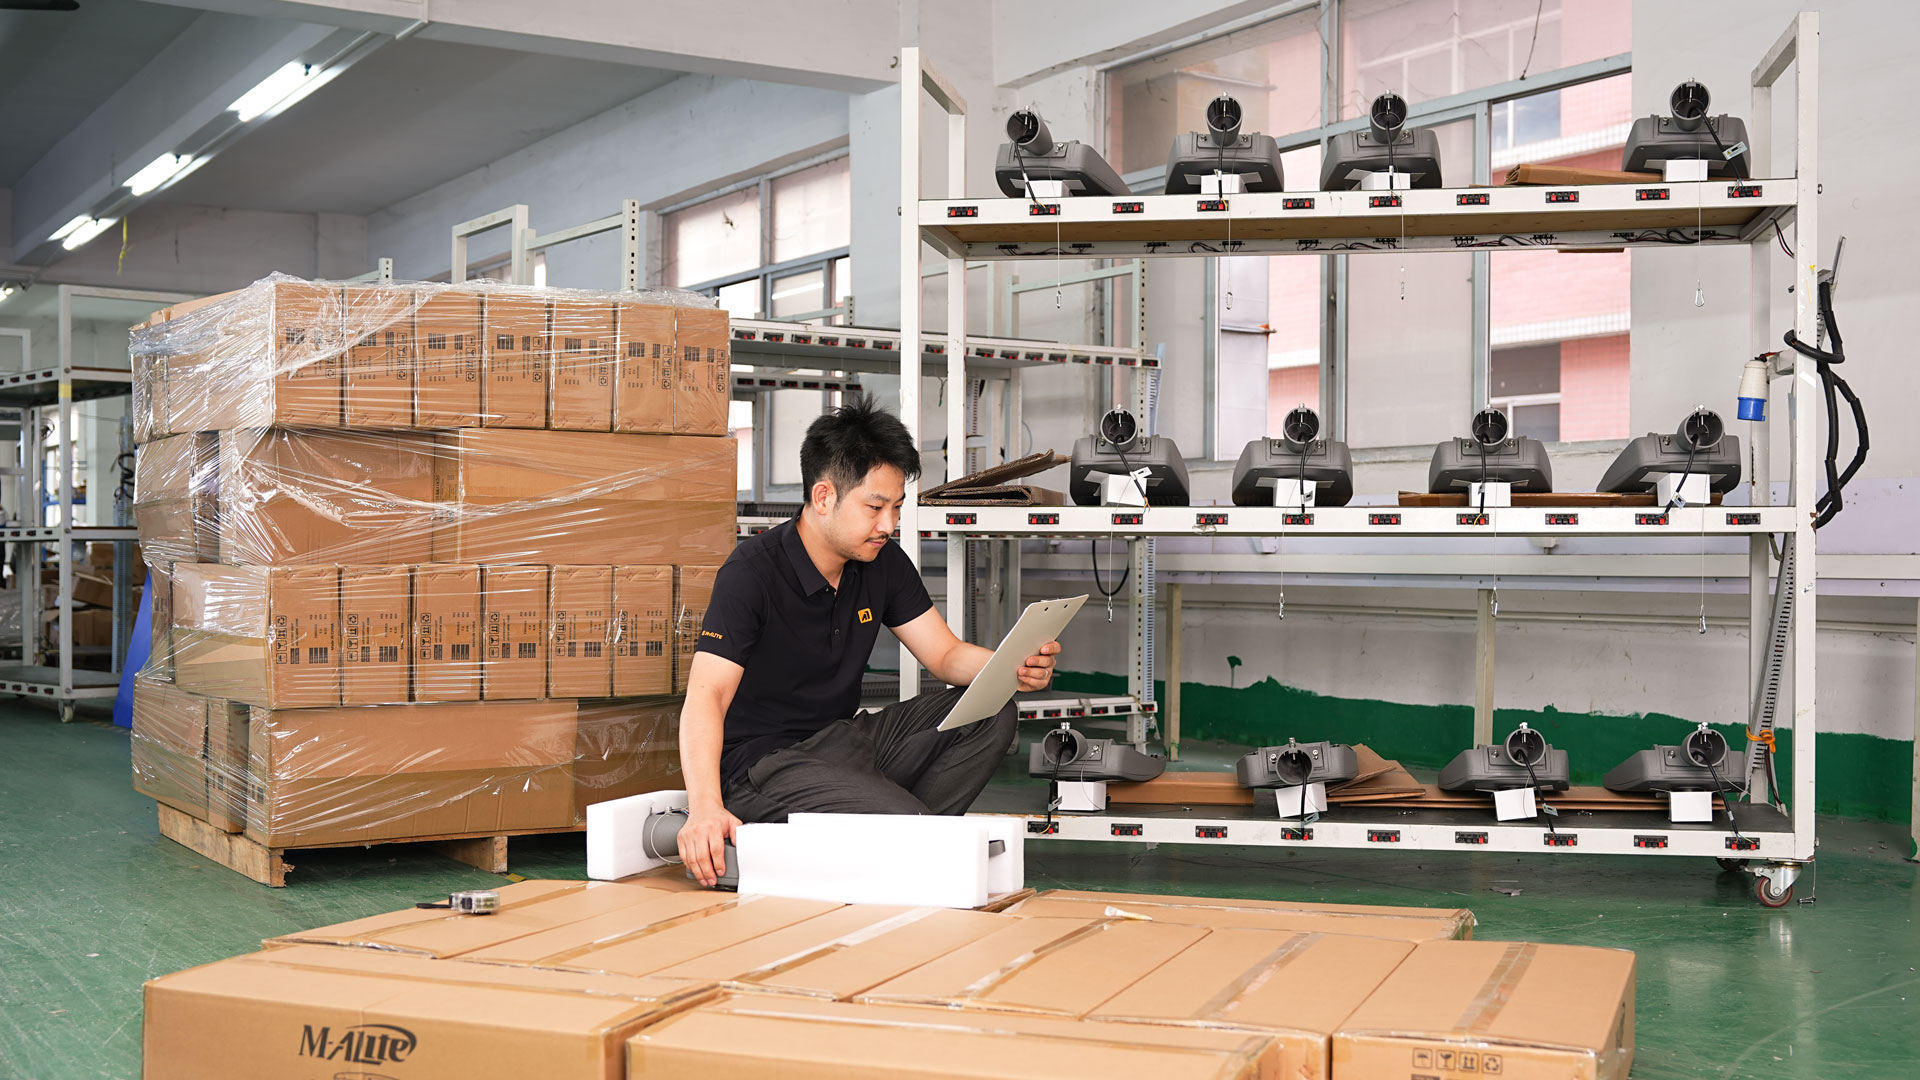
Alite's ASS04 street-light page describes the product for industrial zones, tunnels, railways, and urban roads. The published range includes 50 W, 100 W, 150 W, and 200 W versions, Type I, Type II, and Type III distributions, multiple CCT and CRI options, and IP65 protection. These choices can support early optical and environmental screening for road approaches and adjacent railway areas.
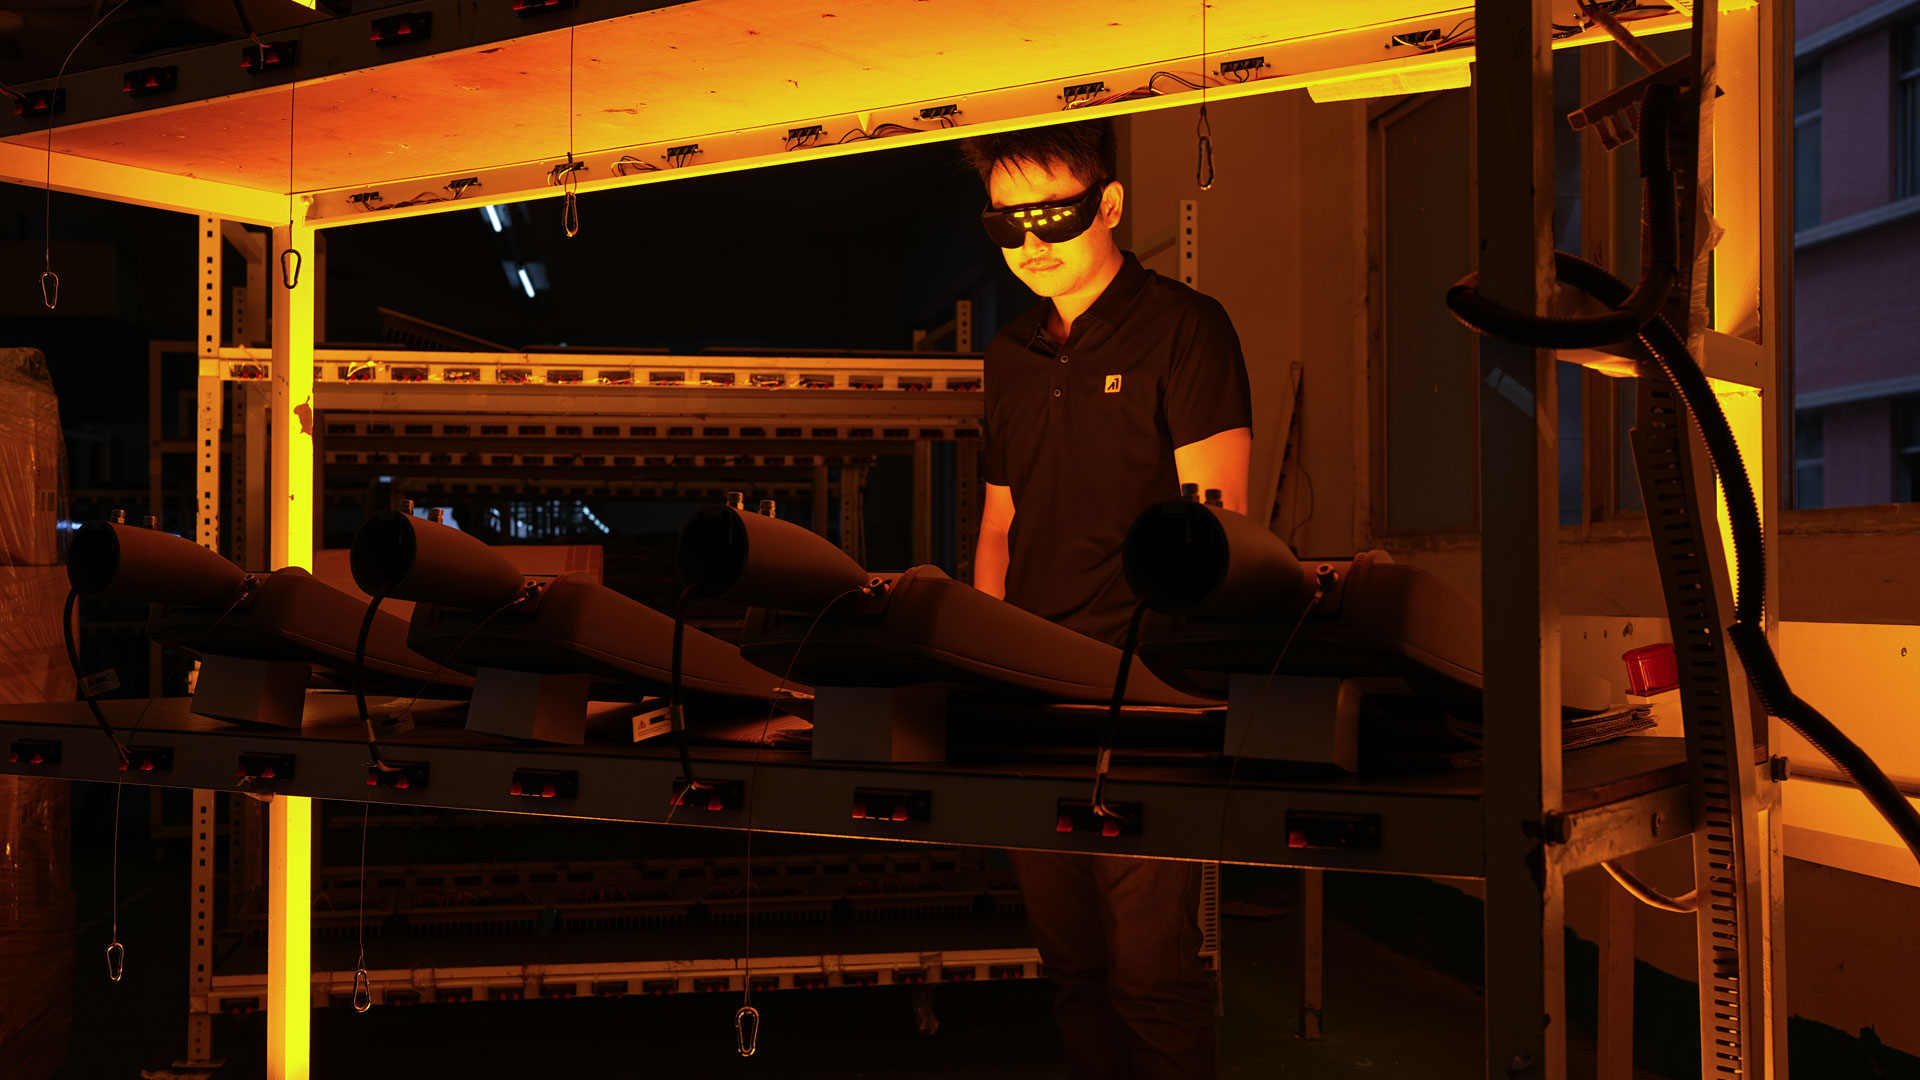
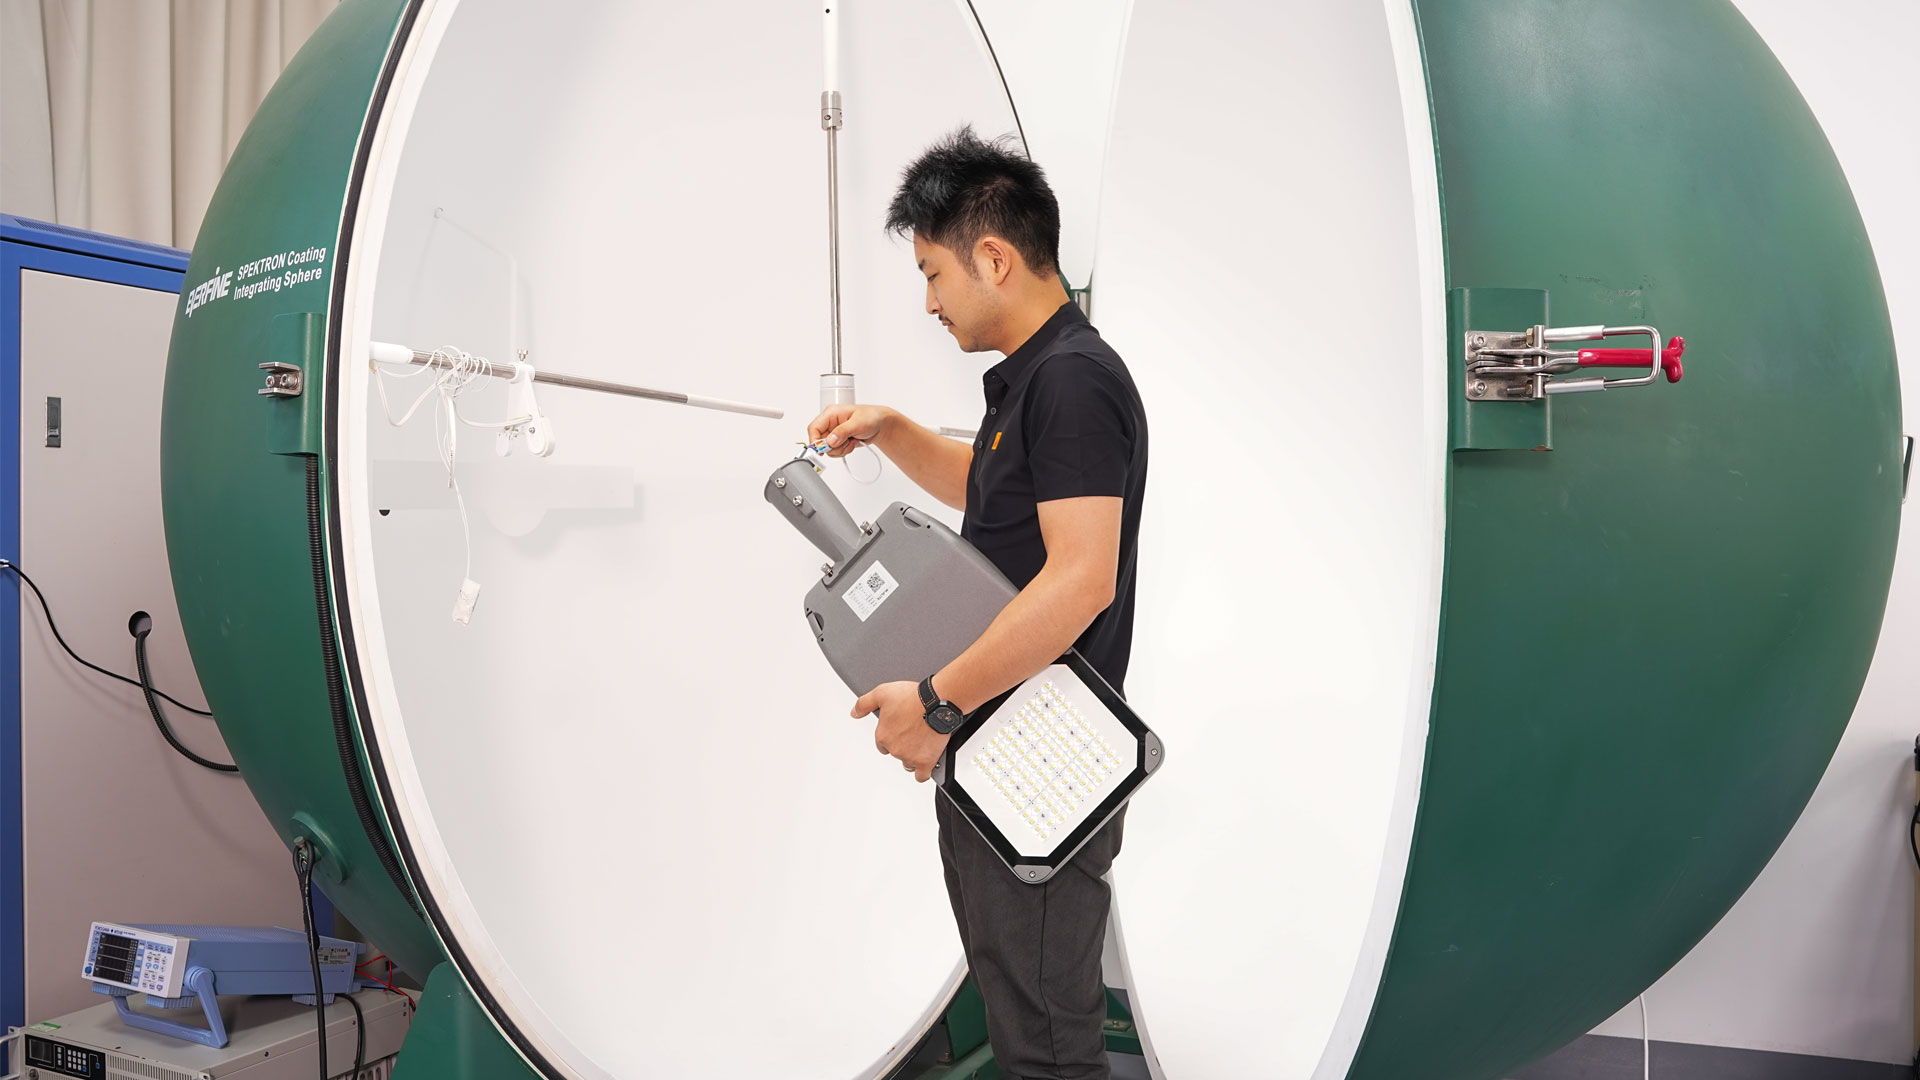
However, a catalog specification is only a starting point. The project team should request the photometric file for the exact wattage and optic, confirm the driver and protection configuration, and test the proposed layout against the applicable crossing rules. Where a floodlight is considered, Alite's floodlight range includes models marketed for transport hubs and selectable beam angles, but aiming and glare evidence remain essential.
Alite states that it supports contractors, distributors, lighting companies, and project buyers with product selection, technical documentation, environmental adaptation, and stable batch delivery. For a railway enquiry, the most useful brief is not simply “send a price.” Share the crossing drawing, pole constraints, required lighting class, voltage, environmental conditions, control interface, document list, quantity, and approval timetable.
Build the RFQ around evidence
Ask Alite for a configuration-specific proposal and technical-document package for your railway crossing or transport-infrastructure project. Final design values and compliance must be confirmed by the qualified project designer and the responsible railway and road authorities.
Frequently asked questions
What is the most important lighting metric at a railway level crossing?
There is no single universal metric. Horizontal illuminance supports road and pedestrian movement, while vertical illuminance helps reveal trains, barriers, and people. Glare and signal visibility must be checked at the same time.
Can an LED street light be used near railway tracks?
Potentially, if the exact luminaire and layout meet the applicable photometric, electrical, structural, clearance, environmental, and maintenance requirements. Product category alone does not establish approval.
Why are IES or LDT files required in the RFQ?
They describe the luminaire's measured light distribution so the designer can calculate illuminance, uniformity, spill light, and glare for the actual geometry. The file must match the supplied model, optic, and output.
Is 32 lux required at every railway crossing?
No. The 32-lux vertical value cited here comes from Transport for NSW guidance for new schemes. Buyers must use the rules set by the local railway authority, road authority, and applicable standards.